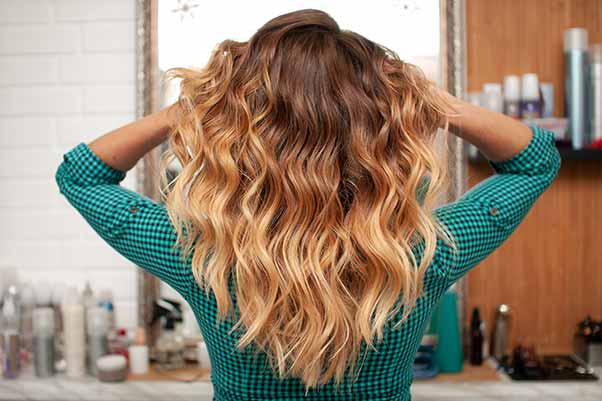
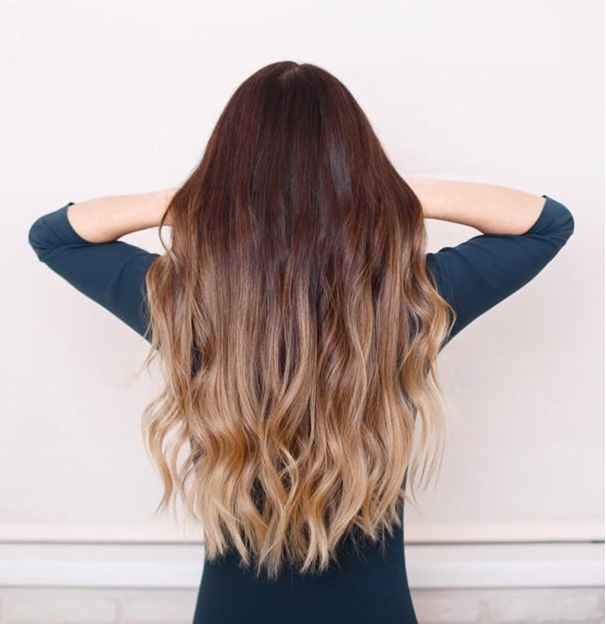
How to Ombré Hair At Home: A dramatic two-toned hair color that moves from darker hues at the top of the head towards a lighter shade, that’s what an Ombré is. With roots in the French word Ombré, meaning “shadow” or “shade”, it is a hair dyeing technique that creates a gradual descent from one color shade to another. It is one of the most beautiful yet easy to maintain hair colors. You would never have to worry about a root touch-up because darker roots are the lifeblood of a good Ombré!
Types Of Ombré
The Classic Ombré
The easiest Ombré to pull off would be the Classic. A subtle transition towards lighter yet classic natural ends brings forth a cascade of beautiful colors; the classic Ombré works the best if you already have dark brown hair or black natural hair color. All you would need to do is lighten the ends!

The Dip-dye Ombré
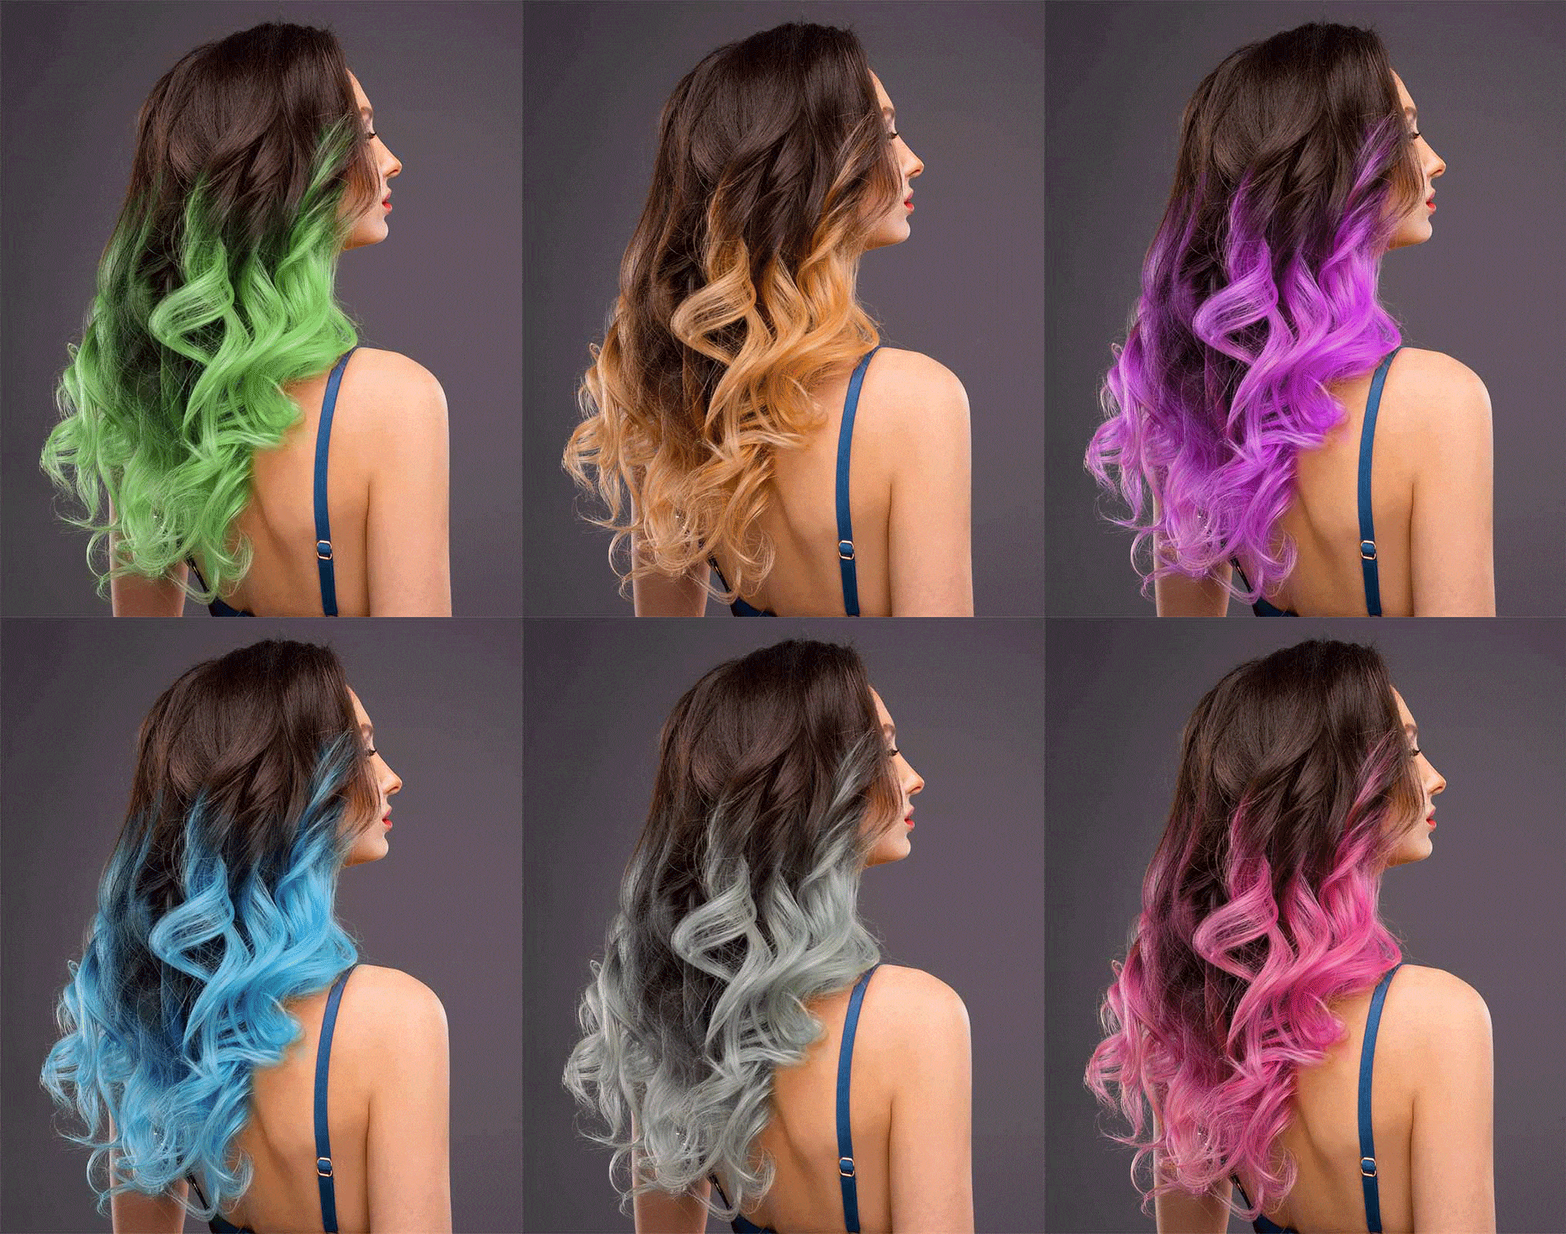
The Ombré for all the it-girls out there (you know who you are!). The dip-dye Ombré is a more radical take on your classic Ombré with more vibrant and eye-catching hairs. We have seen many people go for the dirty blonde, ending up in platinum or the red hair Ombré on darker hair colors such as black or auburn. The dip-dye takes a blend of vibrant colors and transforms your head into a masterpiece.
Can You do Ombré at Home?
Getting an Ombré at home is very easy. With the right hair products and the perfect hair coloring at home tips, you can get an Ombré going quickly by just following the instructions provided on the product. If you want to ease the process further, just invite a friend over and have fun with your hair!
With the Smart Beauty Ombré hair home kit, you get everything you need to create a bleach blonde dip-dye Ombré.
Nominated for the Pure Beauty Awards for being perfectly vegan and suitable for all uses, it is one of the most affordable and easy-to-use products on the market.
But if you think that a little boring, don’t worry, we’ve got you covered! Along with the bleach blonde Ombré kit, all you would need is to pick out a color. You can bring anything to reality: Pink Ombré hair, blue, purple, or even red! Your imagination is the only thing standing between you and the best at-home Ombré hair color job!
Now you must be wondering how to color your hair at home? Well then, let us get right into it!
How To Do Ombré Hair Color At Home?
If you want to get an Ombré done right from the comfort of your home, just follow these simple steps.
The first thing you need to do is decide on where your Ombré is going to begin. If you have long or medium-length hair, we suggest going below your jawline, as it looks the best in our experience. In the case of shorter hair, just working on your ends works wonders.
Get ahold of your Ombré home kit, and we’re ready to transform your hair. But before we begin, be sure to conduct a strands and skin sensitivity test to prevent any side effects from affecting your skin or scalp, especially if you have fine hair. Because above anything else, your health and safety mean the most to us!
After getting the test done, it’s time to start working on your hair!
- First, comb out all the tangles and knots out of your hair.
- If you are going for a symmetrical Ombré, part your hair into four sections, as shown in the image.

Symmetrical Ombre
Layered Ombre
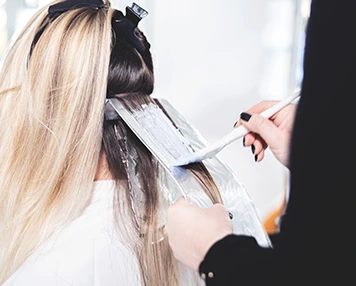
- But if you want a layered Ombré, create a horizontal part ear to ear, lift the top part of your hair and clip them down the crown of your head. See the image for a better understanding.
- Now, to make sure you get a nice gradient going, backcomb the area where your Ombré would begin from.
- Time for the hair product! Grab your products and mix them into a bowl. With gloves on, start applying the mixture, making your way up from the ends of your hair towards the point where the Ombré would begin. NOT THE OTHER WAY AROUND!
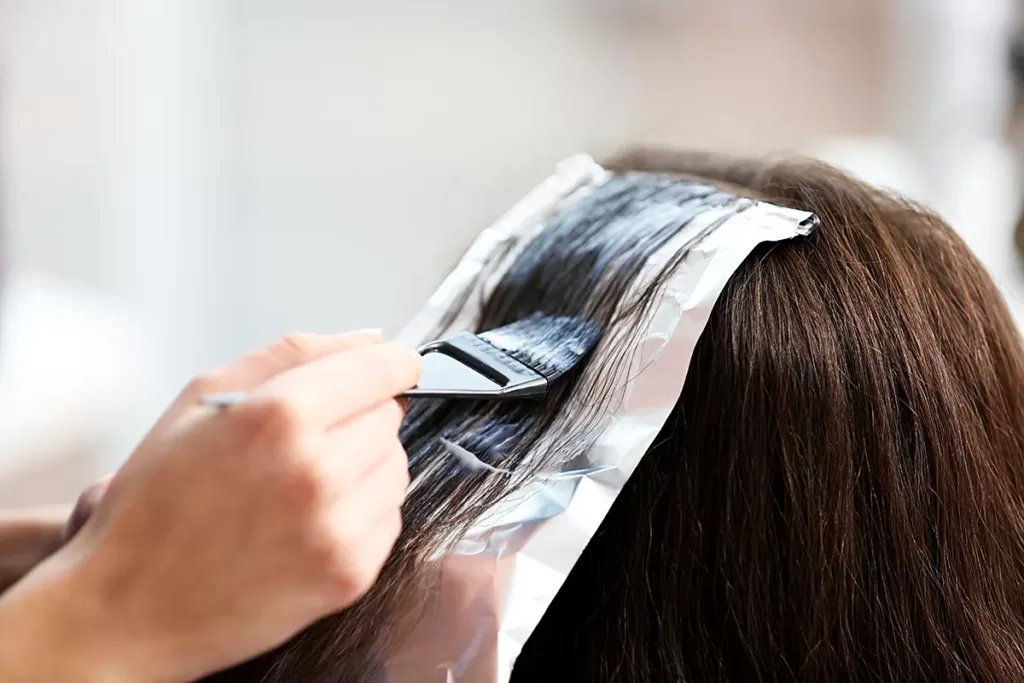
For this Ombré, take your application brush and apply an even layer of the bleaching mixture to each section right below the hair bands.
For a layered Ombré, apply the bleaching mixture to your locks for each section while leaving 25 mm of raw natural hair in between the sections. Here’s an image to help you understand better.
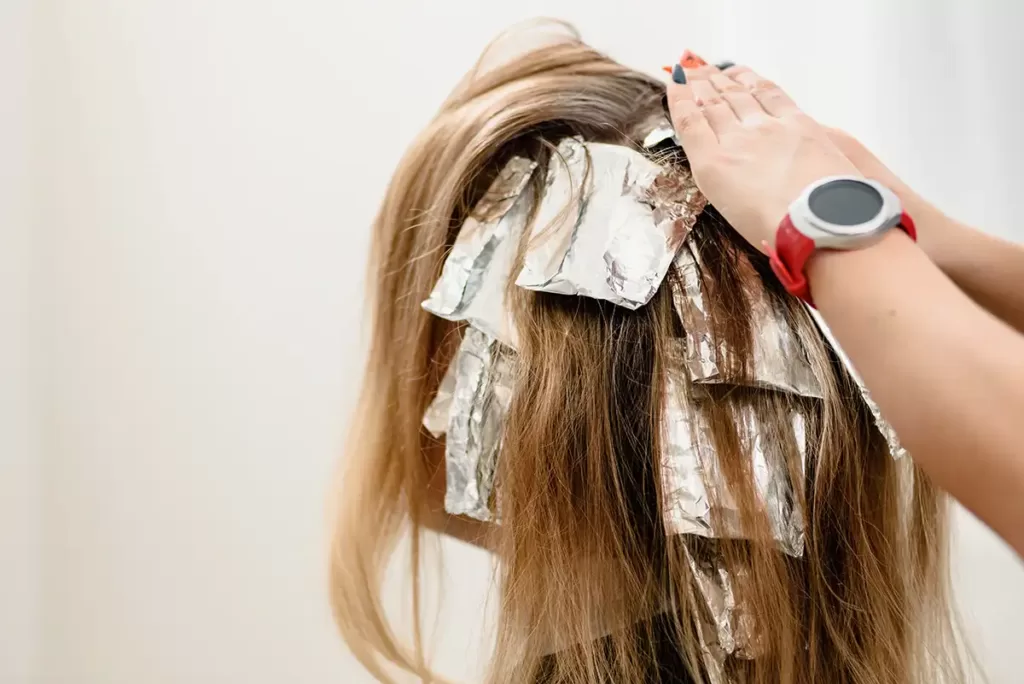
- Now that you have applied the bleach, it is time to let them sit for a while. Fold the treated hair into aluminum foil, as it helps trap the heat inside and helps with better bleaching.
- Wait for the mixture to work its magic. The amount of time you’d need to wait would be mentioned on the box. This step is probably one of the most important, especially when bleaching. The product will keep on eating at your pigments till it dries out, unlike color products.
- After waiting for the recommended time, remove the foils.
- Take another pair of gloves and rinse the mixture out of your hair with lukewarm water. Keep rinsing and repeating till the water runs completely clear.
- Now rewash your hair with shampoo and your preferred deep conditioner for colored hair.
- Suppose you want to add some flare to your Ombré with some radiant and pretty colors. In that case, we suggest that you wait for at least a week before applying any hair color products to your hair. Your hair would be in a very vulnerable state after bleach and require some time to regain its integrity.
- After waiting a week or so, you can apply the permanent hair color you desire to the bleached part of your Ombré by repeating the same steps as mentioned above. You can also use semi-permanent hair color or even temporary hair color.
After HairCare Tips
If you had opted for a dip-dye Ombré, remember colors applied to your hair fade after a while. To make sure you reduce the fading effect as much as possible, use a good conditioning shampoo explicitly designed for colored hair to gloss them up and protect them from fading. Also, make sure to avoid acidic, fruity, 2 in 1’s or anti-dandruff shampoo.
After you are over your current hair color, just get ahold of a good cleansing shampoo and get the smart dip-dye out of your hair without damaging them. Now your hair is a clear canvas again for you to color them as you please!
